Introduction
When it comes to kitchen worktops, a seamless and professional-looking joint is essential for both aesthetics and functionality. The Mason’s mitre joint is a popular choice for joining kitchen worktops. This technique allows you to create a nearly invisible, perfectly aligned connection between two worktop sections. In this comprehensive guide, we will take you through the steps of joining kitchen worktops with a mason’s mitre joint, providing valuable insights, tips, and frequently asked questions to ensure your kitchen project is a success.

Table: Mason’s Mitre Joint for Kitchen Worktops
| Aspect | Description |
|---|---|
| What is a Mason’s Mitre Joint? | A type of joinery that creates a 45-degree angle between two worktop sections, resulting in a seamless connection. |
| Materials Needed | Worktop sections, circular saw, clamps, biscuit joiner, biscuits, adhesive, masking tape, bar clamps, and sandpaper. |
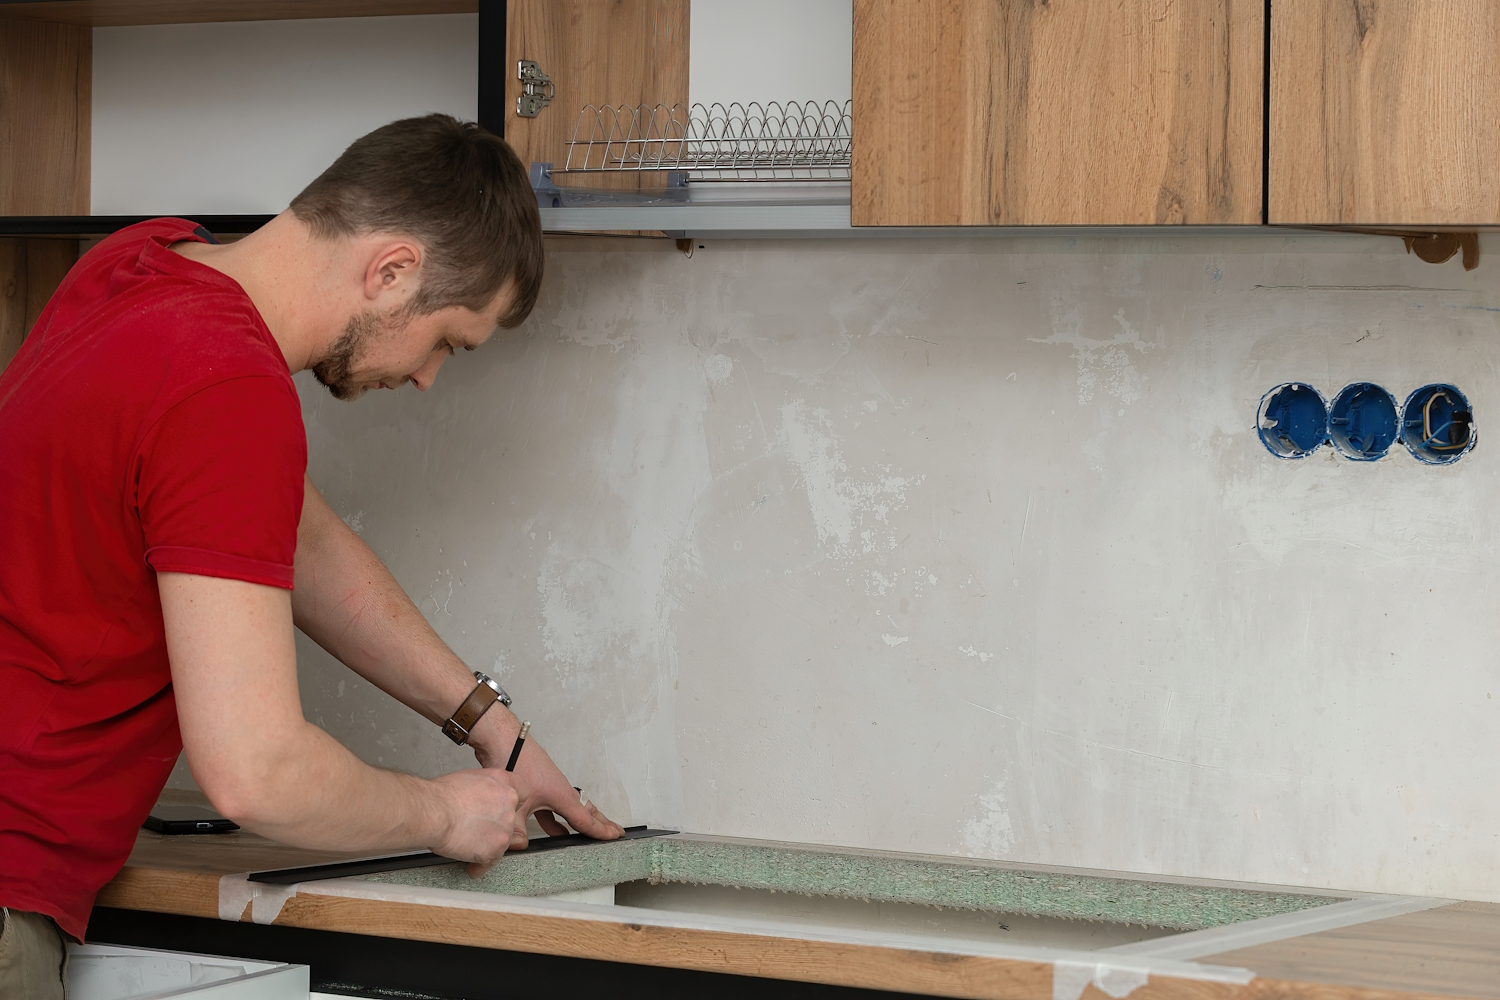
| Step 1: Measure and Mark | Measure and mark the sections to be joined, ensuring accuracy for a tight fit. |
| Step 2: Cut at a 45 Degree Angle | Use a circular saw to make a 45-degree angle cut on both worktop sections. |
| Step 3: Create Biscuit Slots | Use a biscuit joiner to create slots for biscuits that will align the sections perfectly. |
| Step 4: Glue and insert Biscuits | Apply adhesive to the biscuit slots and insert biscuits to join the sections. |
| Step 5: Clamp and Secure | Use clamps to secure the worktop sections together, and ensure alignment using masking tape. |
| Step 6: Final Sanding | After the adhesive dries, sand the joint to create a smooth, seamless surface. |
FAQs
-
- What is the advantage of a mason’s mitre joint over other types of worktop joints?
Mason’s mitre joints create an almost invisible, flush connection between worktop sections, ensuring a sleek and professional appearance.
- What tools and materials are necessary for this project?
You will need worktop sections, a circular saw, clamps, a biscuit joiner, biscuits, adhesive, masking tape, bar clamps, and sandpaper.
- How do I ensure a tight and precise fit for the joint?
Accurate measurement and marking of the worktop sections are essential to ensure a snug fit when creating the mitre joint.
- What role do biscuits play in the mason’s mitre joint?
Biscuits, along with adhesive, help to align and secure the worktop sections while also providing additional stability to the joint.
- How long should I let the adhesive dry before continuing with the project?
The drying time for adhesive can vary depending on the product used. Typically, you should allow 24 hours for the adhesive to cure.
- Can I use a Mason’s mitre joint for any type of worktop material?
Mason’s mitre joints work well for various worktop materials, including laminate, solid wood, and solid surface countertops.
Step-by-Step Guide: Joining Kitchen Worktops with a Mason’s Mitre Joint
Step 1: Measure and Mark
Measure the worktop sections to be joined, ensuring precise measurements and marking with a pencil or masking tape. It is crucial to ensure a snug fit between the sections for a seamless joint.
Step 2: Cut at a 45-degree Angle
Using a circular saw, make a 45-degree angle cut along the marked lines on both worktop sections. Ensure the cuts are straight and accurate for a proper fit.
Step 3: Create Biscuit Slots
Utilise a biscuit joiner to create slots for biscuits on both cut worktop edges. The slots should align perfectly when the sections are joined.
Step 4: Glue and Insert Biscuits
Apply a generous amount of adhesive to the biscuit slots on one of the worktop sections. Insert biscuits into the slots and ensure they are evenly spaced. The biscuits will align the sections for a secure joint.
Step 5: Clamp and Secure
Carefully join the two worktop sections, ensuring the mitre joint aligns precisely. Use bar clamps to secure the sections together tightly. To further ensure alignment, use masking tape across the joint.
Step 6: Final Sanding
Once the adhesive has dried (usually after 24 hours), remove the clamps and masking tape. Use sandpaper to smooth the joint and create a seamless, flush surface.
Conclusion:
Joining kitchen worktops with a mason’s mitre joint is a skilful technique that can elevate the appearance and functionality of your kitchen. This method creates a seamless and almost invisible connection between worktop sections, resulting in a professional look that stands the test of time. By following the step-by-step guide and paying attention to the FAQs, you can confidently tackle this project and enjoy the satisfaction of a beautifully joined kitchen worktop.
Whether you’re working with laminate, solid wood, or solid surface countertops, the mason’s mitre joint is a versatile solution that adapts to various materials. With careful measurements, precise cuts, the use of biscuits and adhesive, and proper clamping, you can achieve a flawless mason’s mitre joint that enhances the overall appeal of your kitchen. Don’t forget to allow sufficient time for the adhesive to cure, ensuring the joint’s durability.
If you’re considering any of the choices above for your next project, look no further! Mr Kitchen Worktop Fitter is your trusted partner for all your worktop installation needs.
Contact us today to discuss your project and let us bring your dream kitchen to life!

